
.png)
Preparing Your Home for an EV Charger Installation
.webp)
Introduction
Most people order the charger first and think about the electrical side afterwards. That order is backwards, and it is why so many units sit boxed in a garage waiting for a panel upgrade that nobody budgeted for.
A little preparation before the installer arrives shortens the job, avoids surprises and usually saves money.
Find Your Panel and Read It
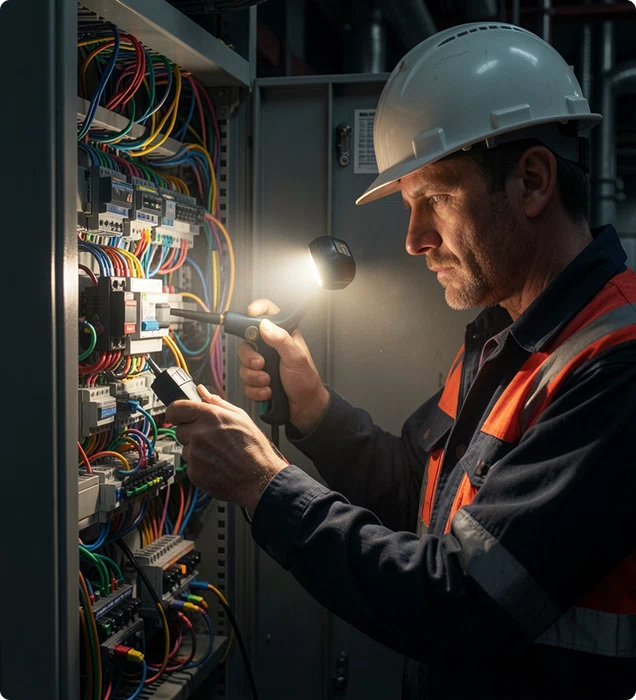
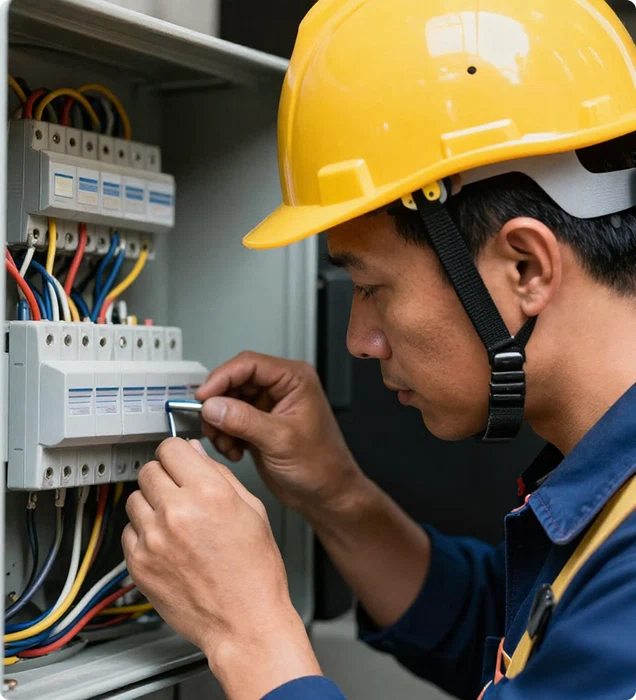
Locate your main panel and note the main breaker rating. That number is the ceiling on everything else. Then look for empty breaker positions, because a charger needs its own dedicated space rather than sharing an existing circuit.
If the panel is full, that does not automatically mean an upgrade. Tandem breakers or a load management device can often free up what is needed at a fraction of the cost.
- Main breaker rating
- Number of free breaker positions
- Age and condition of the panel
- Distance from panel to parking position
Decide Where the Car Will Sit
Cable length is fixed, so where you mount the unit determines how you can park. Think about which side of the car the charge port is on and whether you ever reverse in. Getting this wrong means living with a cable stretched across a walkway for years.
Also consider whether the position is indoors, sheltered or fully exposed, because that decides the weather rating the unit needs.
Questions to Ask Before Work Starts
A short conversation up front prevents most of the disputes that come later.
- Does my panel have capacity, or do I need load management?
- Will the run be surface-mounted or concealed?
- Is a permit required, and who applies for it?
- What happens if the inspector wants changes?
- Is the charger cable long enough for how I park?
- What is covered if the unit fails in the first year?
What to Have Ready
Clear access to the panel and to the mounting position saves time on the day. If the route passes through a loft or crawl space, make sure it can be entered safely.
- Clear the area around the panel
- Empty the mounting wall of shelving or storage
- Have your vehicle details to hand
- Confirm parking for the installer's van
Conclusion
Preparation is mostly a matter of knowing your panel and knowing where the car will sit. Answer those two questions before you buy anything and the installation itself becomes routine.
